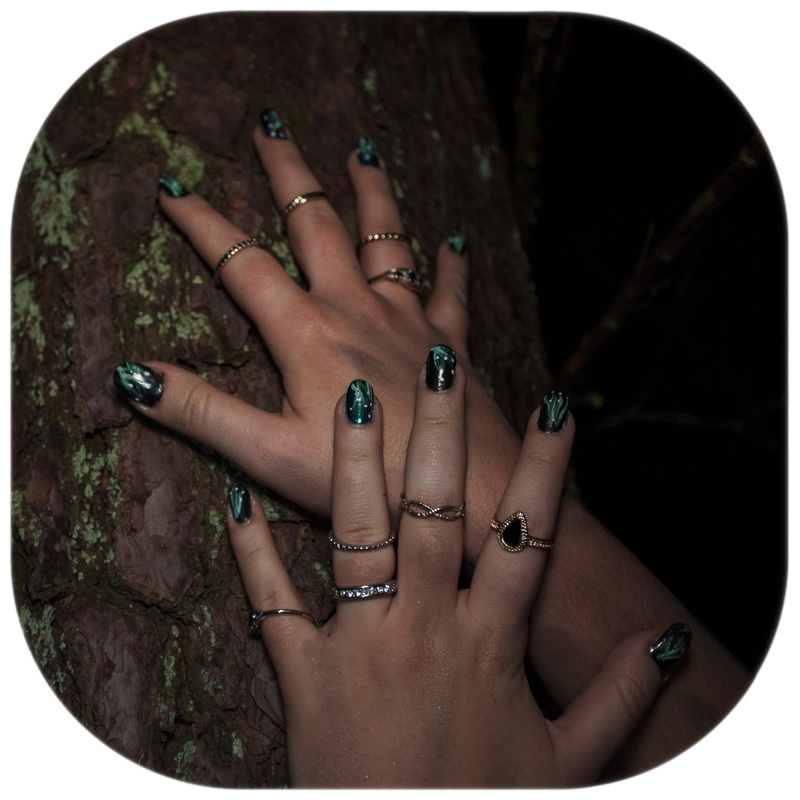
The Evil Mother Earth needs her very own Evil Earth Nails, so here they are - enchanting, powerful, dark and mysterious! They're easy to achieve and are beautifully intricate.
Stay sweet,
Love, Sweets.
Stay sweet,
Love, Sweets.
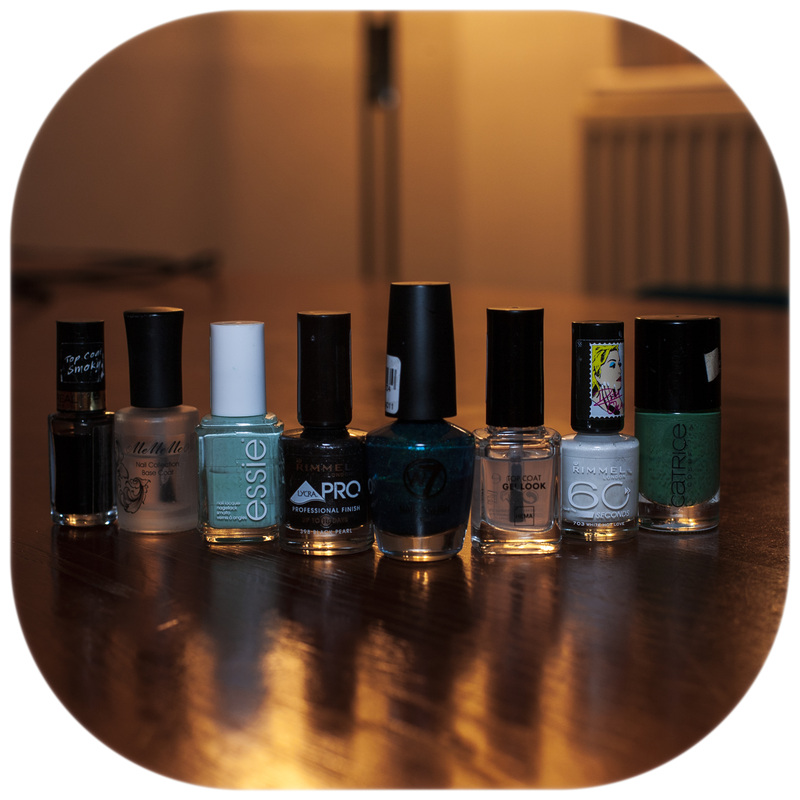
All the products used for this nail design.
My nails are actually acrylic, so I did not use any base coat before applying the rest of the nail polish. However, I suggest using a base coat to protect your nails before applying the dark colours on top of your natural nail bed.
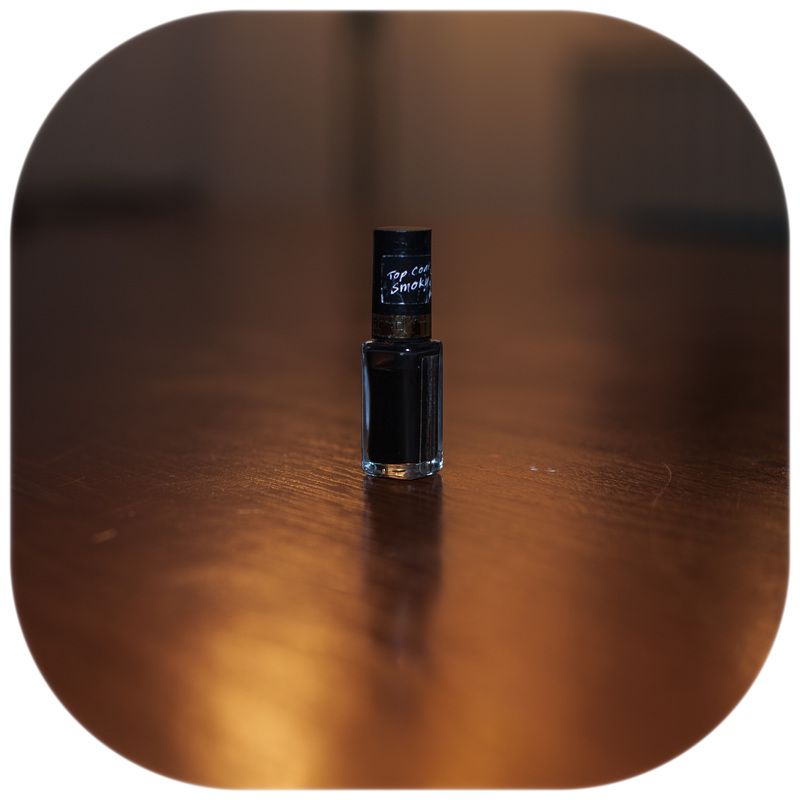
1. Apply a thin layer of L'Oreal Paris Smokey Top Coat Nail Polish in No.913 Smoky on all of your nails. Wait for the polish to dry completely before you move onto the next stage.
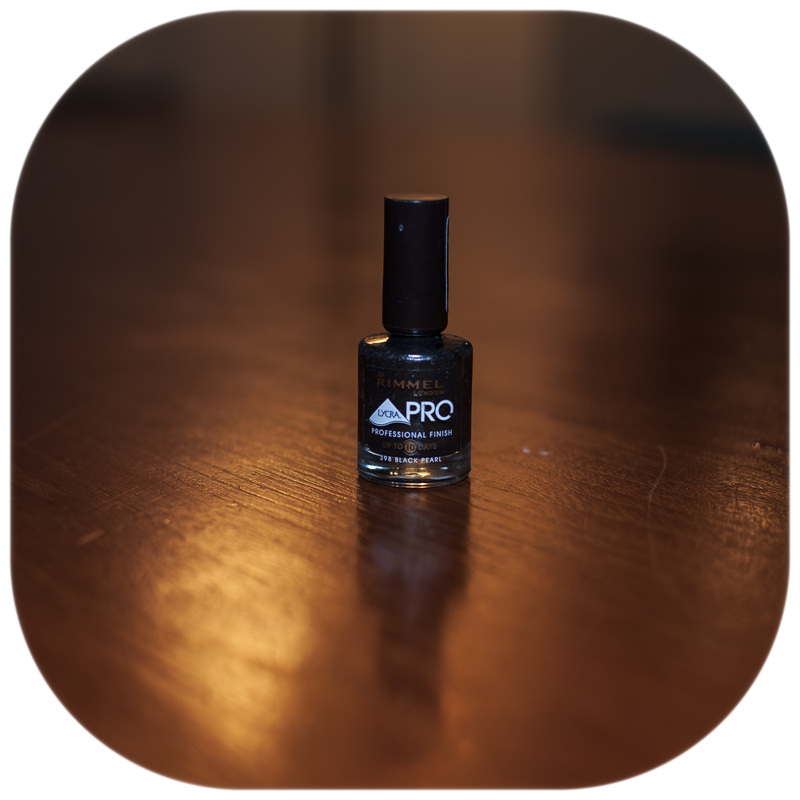
2. Paint over the base black coat with another black coat using Rimmel London Lyrca Pro Professional Finish Nail Polish in No.398 Black Pearl. This will make the black coat more opaque, allowing for the other colours to be much more pigmented on top.
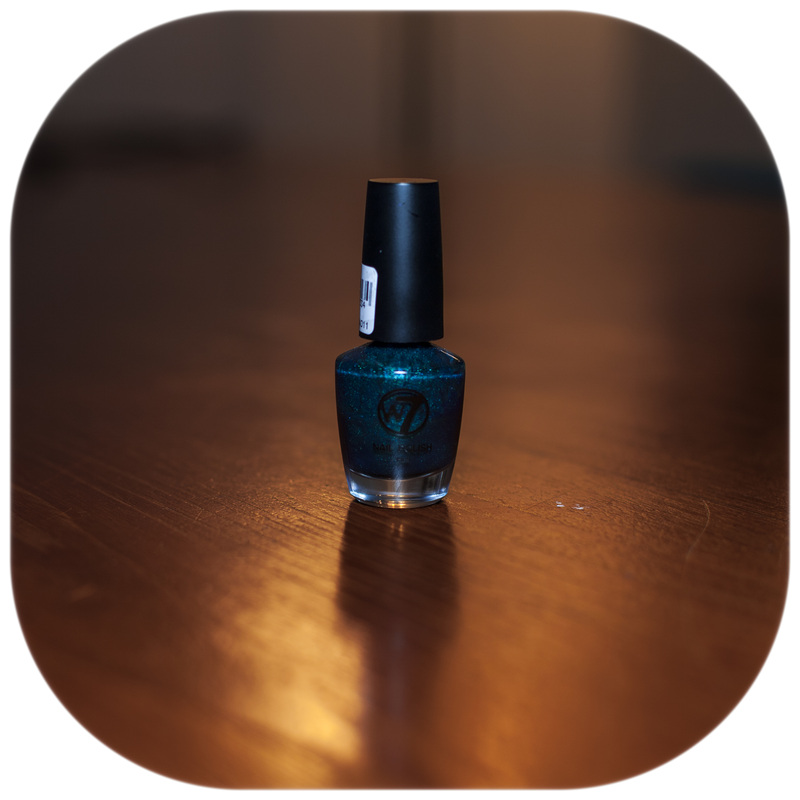
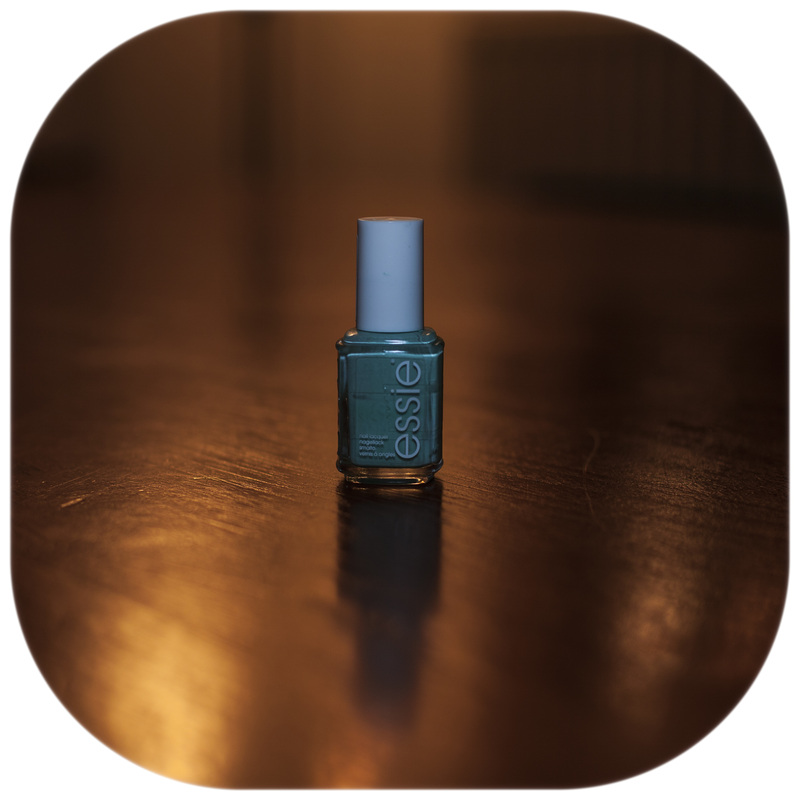
3. Now that you are done with your base coat, you can use the rest of the colours (North West W7 Cosmetics in No.1 Envy, Catrice Cosmetics Ultimate Nail Lacquer in No.340 Run Forest Run! and Essie Nail Varnish in No.99 Mint Candy Apple) to create your design. I used Maybelline New York Thin Nail Brush to paint sticks and twig designs on all of my nails, varying the source of the growth of the bushes around my nails.
4. Use Rimmel London 60 Second Rita Ora Nail Polish in No.703 White Hot Love to create some flower-dots on your nail design.
5. Top off your nail design with a protective, glossy layer of your preferred Top Coat (Hema Top Coat in Gel Look)
*HINT: the darker the colours you use, the more mysterious your nails will look. Brighter colours should be used only for small accent details to keep the design as dark as possible.
If you'd like to purchase any of these products, follow the links under the photos!
1. Apply a thin layer of L'Oreal Paris Smokey Top Coat Nail Polish in No.913 Smoky on all of your nails. Wait for the polish to dry completely before you move onto the next stage.
2. Paint over the base black coat with another black coat using Rimmel London Lyrca Pro Professional Finish Nail Polish in No.398 Black Pearl. This will make the black coat more opaque, allowing for the other colours to be much more pigmented on top.
3. Now that you are done with your base coat, you can use the rest of the colours (North West W7 Cosmetics in No.1 Envy, Catrice Cosmetics Ultimate Nail Lacquer in No.340 Run Forest Run! and Essie Nail Varnish in No.99 Mint Candy Apple) to create your design. I used Maybelline New York Thin Nail Brush to paint sticks and twig designs on all of my nails, varying the source of the growth of the bushes around my nails.
4. Use Rimmel London 60 Second Rita Ora Nail Polish in No.703 White Hot Love to create some flower-dots on your nail design.
5. Top off your nail design with a protective, glossy layer of your preferred Top Coat (Hema Top Coat in Gel Look)
*HINT: the darker the colours you use, the more mysterious your nails will look. Brighter colours should be used only for small accent details to keep the design as dark as possible.
If you'd like to purchase any of these products, follow the links under the photos!
L'Oreal Paris Smokey Top Coat Nail Polish in No.913 Smoky
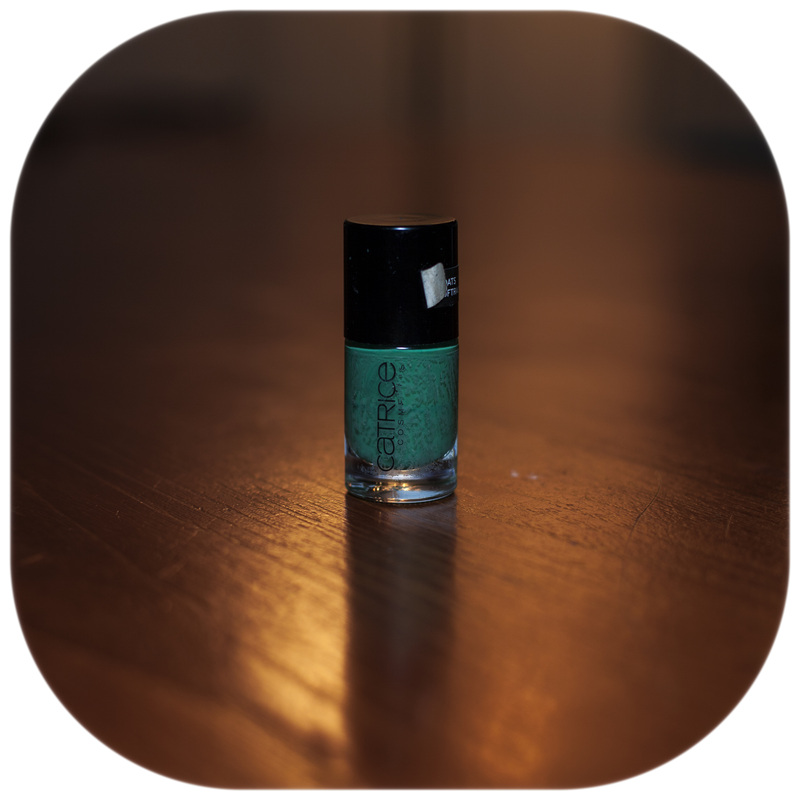
Catrice Cosmetics Ultimate Nail Lacquer in No.340 Run Forest Run!


Hema Top Coat in Gel Look

 RSS Feed